
A
is for
APERTURE CARD.
Version I
I have used a basic 5.5 x 5.5 blank card. (Otherwise use any card stock you have and cut and fold to required size. ) To make the aperture on the front of the card you will need a die cut. Any shape can be used. Whatever you have in your stash.

Place your chosen die cut for the aperture on the front of your card.
Tip 1. Hold in place with washi tape inside the aperture so that card front is not marked.
Tip 2. Remember to leave space at the bottom of card as once the aperture is cut you will see the inside of the card and any message that you write will not be covered.

Open card out flat and only place the front of your card through your die cutting machine.
To finish my card I have added a stamped image to the inside of the card.
Cut a piece of toning card slightly smaller than your card. i.e. 5.25x5.25. Place inside the card and close the front. Mark with a pencil where the edges of the aperture will be. Now you can simply stamp your image within the marked area. Don't forget to remove the pencil marks.

Here is the finished card ready to add an embellishment to the front is required.


Version II
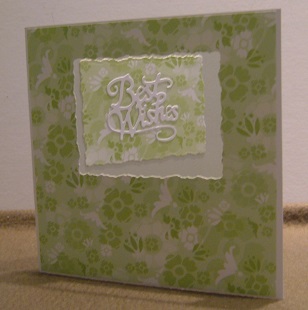
Tip 1. If you want to have design paper on the front of your card cut and stick to the front before using the die cut. This way when you cut the aperture you will not see any gaps.


You can use the discarded die cut to decorate inside the card. Here I have added a die cut sentiment.
Version III
Here I have added acetate to the aperture.
Tip 1 Don't add the acetate to the inside of the card front as shown here. As you will now need to neaten the inside and it is quite fiddly to cut an extra piece of card and position the die cut in precisely the correct place to cover .

Instead add the acetate to the front of your card. Simply die cut a frame to fit over the aperture. Here I had cut in white so that it shows up for you to see.

Turn the frame over and stick the acetate to the back using D.S. Tape and adhere to the front of the card.


The front is now ready to decorate with embellishments as required.


Hi Mrs A thank you for this it is a great technique. Take care. Hugs Jackie
ReplyDeleteFabulous Mrs A just love this layout too! x
ReplyDeleteThanks for your tips about acetate! :D I don't use it usually, but these tips could be useful just in case I want to try :)
ReplyDelete