T
is for
is for
TRIPLE POINT CARD
This is the finished card.
The instructions below are for the Triple Point element only and not the whole card design.
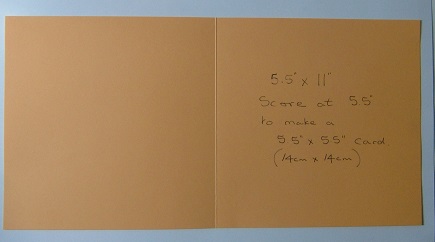
1. Cut cardstock 5.5" x 11". Score on the long side at 5.5" to make a square card.
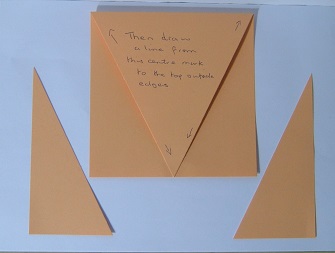
2. With fold of card to top measure the half way point along the bottom edge and mark with a pencil.
3. Then draw a line from this centre point to the top outside edges left and right.
4. Now cut the triangles away from each side (from the top card only) and keep.
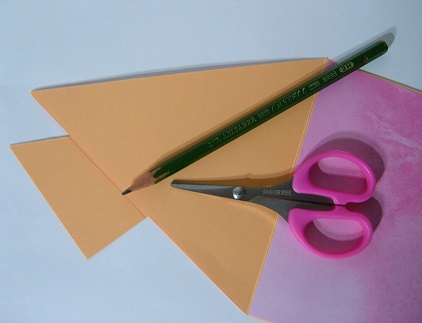
6. Using a contrasting design paper cut another piece measuring 5.25" x 5.25" and again mark the centre point at the bottom. Then draw lines from this point up to the outside edges as you did on the base card. Attach this design paper to the V point and the two triangles (that you have already cut away from the front of card).
7. Take one of the triangle points and position on the front of the card as below so that their is a wide point at the base and the opposite corner is just touching the outside edge of the card. The thin point should be at the top as shown.
11. Repeat with other triangle to complete your card.


No comments:
Post a Comment
Thank you so much for fluttering by today.