B
is for
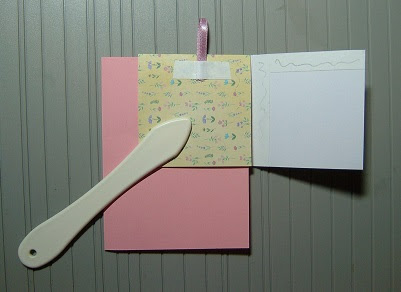
BOOKMARK CARD.
This is a picture of a finished card using the design instructions to make.
1. For the base card cut cardstock 11" x 4.5". Score at 5.5" on 11" side and fold. (The fold will be at the top of your card. ie Tent fold style. )2. Cut a piece of coloured cardstock 5.25" x 4.25"and adhere to the front of the base card.
3. Cut a piece of design paper 4" x 5" and set aside.
4. Cut a piece of contrasting plain cardstock 6.5" x 4.25". Score and fold on longside at 3.25"
5. Cut a piece of design paper 5" x 5" and score on both edges at 2.5" This is to make the bookmark for the corner.
6. Cut one quarter section away as shown below.
7. Now open the folded card you cut at 4 above. Turn the bookmark sheet to the reverse side and place on the corner of the card as shown below with the cut out at top right.
8. Close card front over the top as shown below.
9. Carefully fold the top section of book mark down as shown.
10. Adhere a small loop of ribbon/string with d.s. tape as shown.
11. Adhere d.s.tape to the remaining flap of book at ~~~~~~~shown below and close over to seal the ribbon tab.
12. Remove bookmark and cut the corner off (ie a small triangle) the top two layers only leaving the bottom layer intact as shown in picture.
13. Adhere the bookmark page to the design paper cut at 3 above (leaving the front section open.
14. Adhere this to the front of the base card and slip the bookmark over the corner.Your card is now complete and can be finished with your embellishments as required.


1 comment:
Thanks for such a great step-by-step tutorial on this card design!
Post a Comment