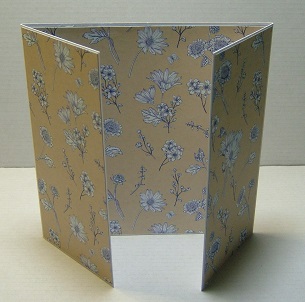
There were 21 entries this time , not so many but maybe the Centre Step was just a step too far! I hope you will like the card shape for the letter D better.
4 people tried the centre fold fold card so Thankyou for all having a go at the shape.
Here is my Top 3 selection.
In numerical order are
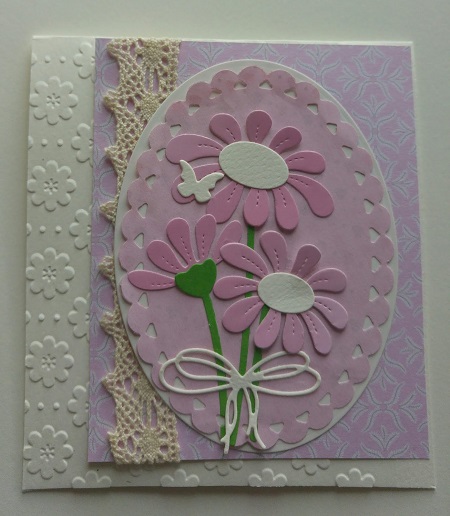
(6) Michelle L.
Her card uses a beautiful layered butterfly
which takes centre stage .
(16) Helen Lui
using a lovely vibrant
Water Stencilling background.
(17) Vinita Jain
Using The Faux Stained Glass technique
To create a lovely flower design.
I really wish
I had the Inernet in order to show you these beautiful cards.
Congratulations everyone.
please take a bow and help yourselves to
The Top 3
Badge from the side bar.
please take a bow and help yourselves to
The Top 3
Badge from the side bar.
1st Prize
For using either one theme or one colour + your butterflies.
The Winner picked from the tea cup is:
(14) Janes Journal.
2nd Prize
For using both a theme and a colour + your butterfly.
The Winner picked by Random Org is :
(8) Kathy A.
Top Prize
For using the Aperture card element + butterfly.
(9) Terrie.
Jane, Kathy & Terrie
Please get in touch using the email address in the side bar
to collect your prizes.
Please also take the Winner's Badge from the side bar.
Can I also please add that you acknowledge your win
In the comments box below so that
I know to expect an email from you.
Jenny
You were the only one to use 7 elements again.
I will pop a surprise in the post to you.
I promise it won't be a Butterfly pen!!
Hope to see you all back for # 120
Happy Crafting.