
W
is for
WINDOW CARD.
Version 1.
This is a picture of a finished card using the design instructions to make.

1. I have tried to keep the sizing nice and simple so this is a 5.5" x 5.5" card.
Either use a pre bought card blank or cut a piece of cardstock to 11" x5.5" (score at 5.5" on the 11" side and fold to create your card).
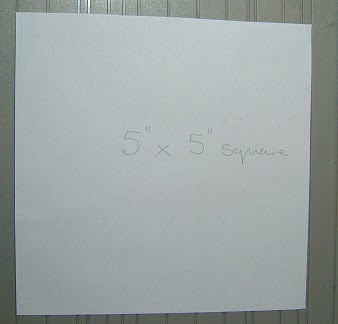
2. Cut a piece of double sided design card to be 5" x 5" Sq. (n.b. I am using white copy paper here so that you can see more clearly.)

4. Line up these pencil marks using a ruler and place a small pencil dot at 2.5".

5. This is the centre point of your sheet. You can rub out the two sides line marks as these are not needed.


8. Turn paper round and repeat for the third corner as below. n.b. You should now have an envelope shape.

9. Now fold in the last corner to create a smaller square. This will make a 3.5" square.

10. Now start to fold back each of the point as shown below. Fold the point so that it just meets the outside edge.

11. Your completed window should now look like this and you can go ahead and decorate as required.


Version 2.
You can create a different look by simply placing the window squarely on the card instead of diamond wise. See Below.

Version 3.
You can even create a slim line version and attach two smaller windows!
1. I have used a smaller 4"square (this makes a window that is approx. 2.75") to create this card the base card is 3.5" wide by 8.25" long. You will mark your 4"sq at the 2" mark and place your centre dot at 2"
using the pictures above at Version 1 as your visual guide.

Version 4.
Why not try a double window. It is easier than you think!
1. I have used a card base that is 4.5" x 6" . Window is created using a 5" square and a 4" square set inside.


6 comments:
Wonderful cards Mrs A and a fabulous tutorial to follow x
So easy and clear tutorial, love the origami effect! Thanks!
Thank you for the great tutorial, which is very clear. I think I can do it! As Alice mentioned, it reminds me of origami. Now to find some double-sided paper!
Great direction and easy to follow.
I really want to try the double window one....TFS
Four fabulous cards Mrs A and this is a fold I have never tried so will definitely keep this one in mind as it is a very pretty look to frame either a sentiment or an image as you have shown really well with these wonderful designs. x
Gorgeous cards Mrs A. Love the double window. HUgz
Post a Comment